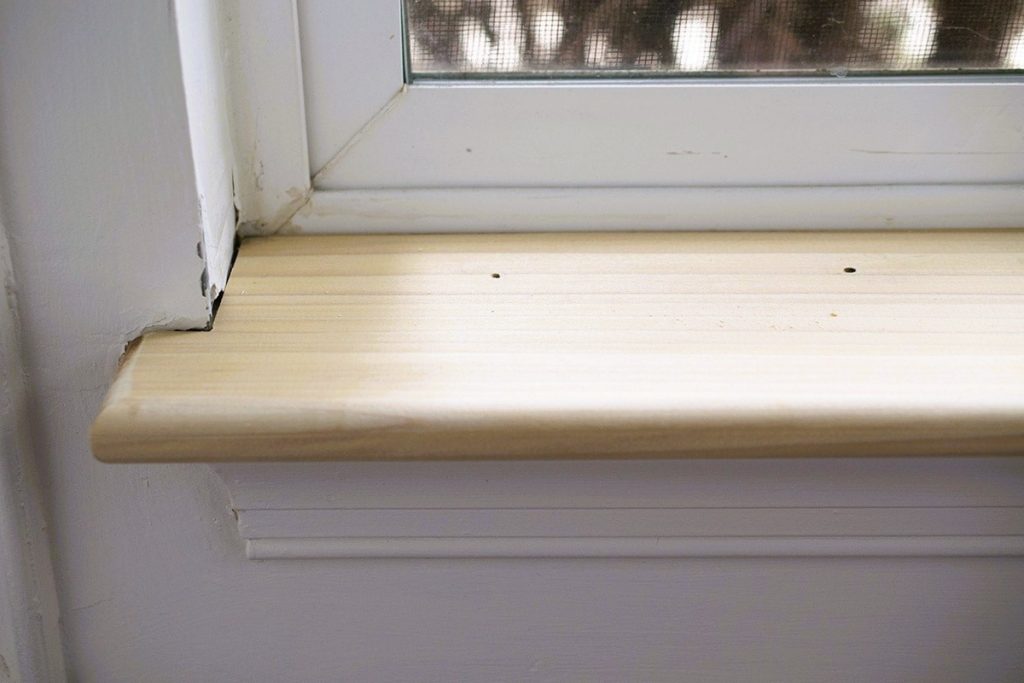
Window sills, also known as window casings or reveals, are important features of any window installation. They not only provide a finishing touch to the window but also protect it from the elements and help to insulate the interior space. However, window sills can be quite expensive, especially if you opt for custom-made ones. If you’re looking for a more cost-effective option, making your own window sills for plastic windows can be a great DIY project.
Materials Needed
To make your own window sills, you’ll need the following materials:
- MDF board: This is a versatile and cost-effective option for making window sills. MDF board is easy to work with and can be cut to any size and shape.
- Jigsaw: A jigsaw is a handheld power tool used for cutting curves and irregular shapes in wood.
- Sandpaper: You’ll need sandpaper to smooth the edges of the MDF board.
- Measuring tape: A measuring tape will help you to accurately measure the dimensions of your window.
- Pencil: You’ll need a pencil to mark the measurements on the MDF board.
- Wood glue: You’ll need wood glue to attach the MDF board to the window frame.

Step-by-Step Guide
Here’s a step-by-step guide to making your own window sills:
- Measure the dimensions of your window: Measure the width and depth of your window frame to determine the size of your window sill.
- Cut the MDF board: Using a jigsaw, cut the MDF board to the size of your window sill.
- Sand the edges: Use sandpaper to smooth the edges of the MDF board.
- Mark the position of the window sill: Use a pencil to mark the position of the window sill on the window frame.
- Apply wood glue: Apply a small amount of wood glue to the back of the MDF board.
- Attach the MDF board to the window frame: Carefully position the MDF board on the window frame and press it firmly in place.
- Secure the MDF board: Use clamps or weights to hold the MDF board in place while the wood glue dries.
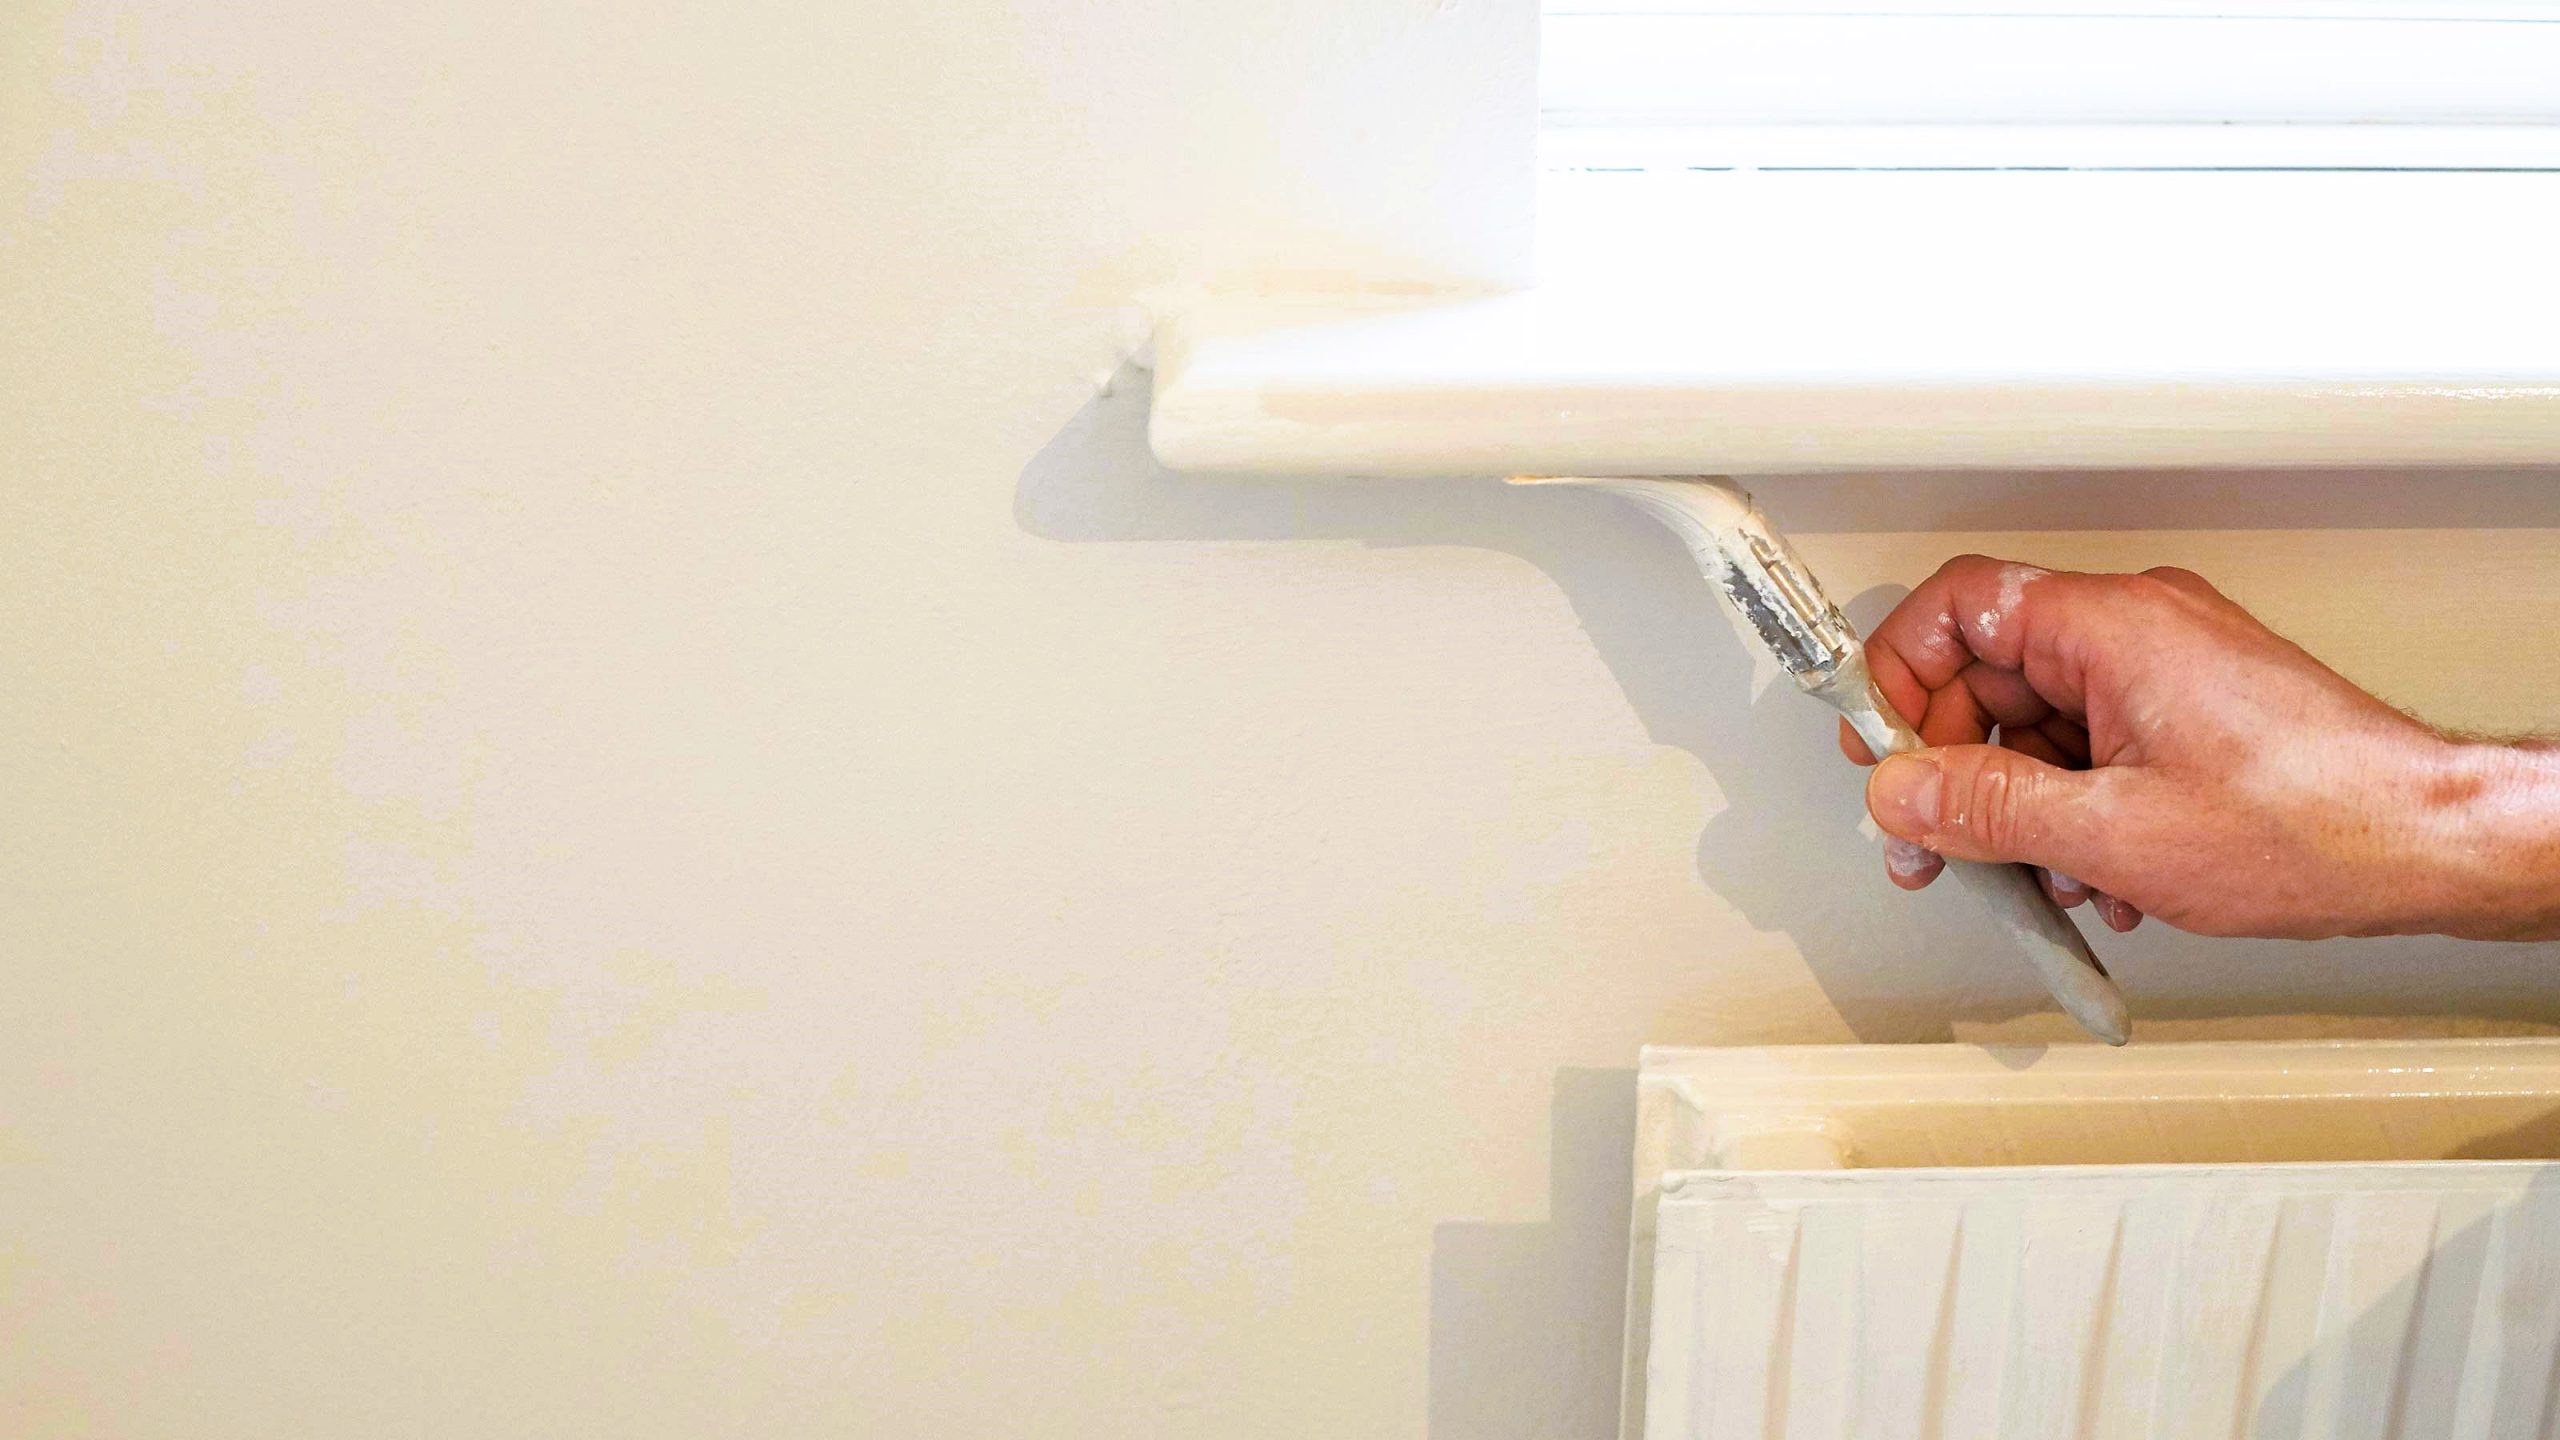
- Finish the window sill: Once the wood glue is dry, you can finish the window sill with paint or varnish to match the existing decor.
Tips for Success
Here are some tips to help you make your own window sills successfully:
- Measure twice, cut once: Always double-check your measurements before cutting the MDF board.
- Use a straight edge: A straight edge will help you to cut straight lines in the MDF board.
- Be patient: Allow the wood glue to dry completely before removing the clamps or weights.
- Sand carefully: Be careful when sanding the edges of the MDF board to avoid splinters.
- Paint or varnish carefully: Take your time when painting or varnishing the window sill to achieve a professional finish.
In conclusion, making your own window sills for plastic windows is a great DIY project that can save you money and add a personal touch to your home. With the right materials and tools, you can create a window sill that is both functional and aesthetically pleasing. Just remember to take your time and follow the steps carefully for the best results. Looking for top quality windows? Read about windows in Canada.
One of the advantages of making window sills and jambs yourself is the ability to customize them to your liking. You can choose the material, the size, the shape, and the color to match your home’s interior design. Plus, DIY window sills and jambs can save you money compared to buying pre-made ones from the store or hiring a professional to install them.
When it comes to choosing the materials for your window sills and jambs, there are several options available, including wood, PVC, MDF, and drywall. Each material has its advantages and disadvantages, so it’s essential to consider your needs and budget before making a decision.

Wooden window sills and jambs are a popular choice due to their natural beauty and durability. However, they require regular maintenance, such as sanding, staining, and painting, to keep them looking their best. PVC is a more affordable and low-maintenance alternative to wood, and it’s resistant to moisture and rot, making it ideal for high-humidity areas like bathrooms and kitchens. MDF is another option that’s similar to wood but more affordable and easier to shape and paint. Finally, drywall window sills and jambs are the most budget-friendly option, but they require a skilled hand to install correctly.
No matter which material you choose, making window sills and jambs yourself requires some basic woodworking skills and tools. You’ll need a saw, a drill, sandpaper, paint or stain, and a measuring tape, among other things. There are plenty of tutorials and guides available online to help you with the process, but it’s essential to take your time and follow the instructions carefully.
In conclusion, making window sills and jambs yourself can be a fun and rewarding DIY project that adds a personal touch to your home’s interior design. With the right materials, tools, and skills, you can create custom window sills and jambs that fit your style and budget. So why not give it a try and see what you can create?

